A low-cost and simple way to make reusable electrodes for myoelectric projects
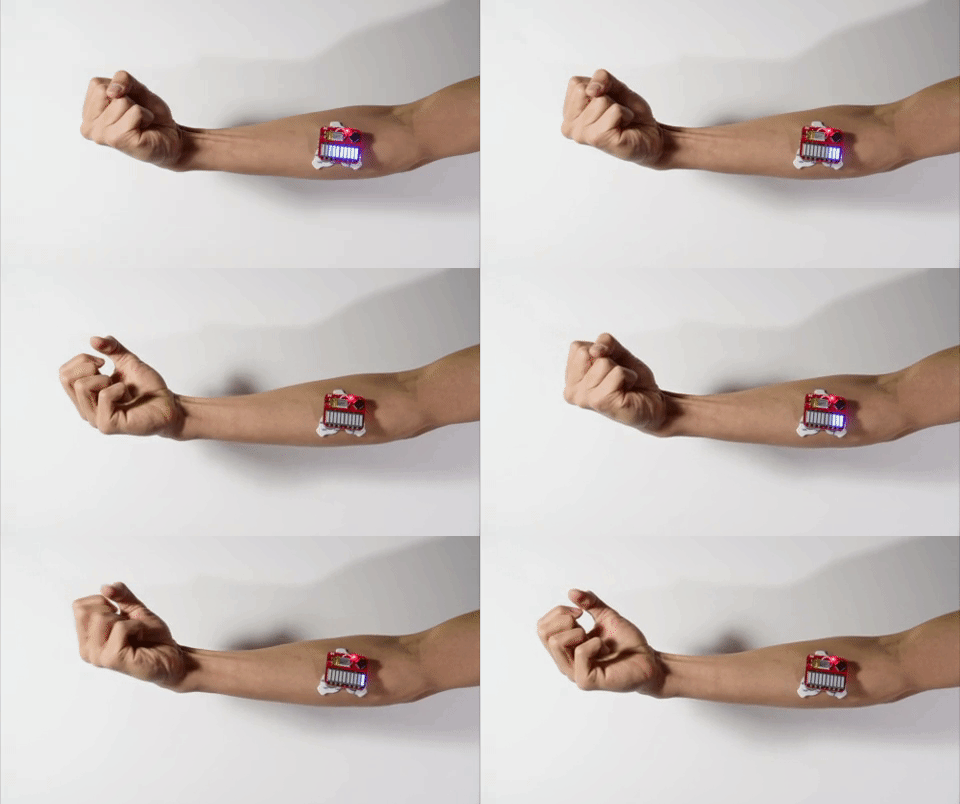
Conductive fabric electrodes can be sown into any type of garment or used with a strap. When dampened, these electrodes allow you to sense the tiny electrical signals of your muscles just like traditional medical electrodes. For this tutorial, we’re going to use them in a sleeve to detect the muscle activity of the forearm muscles.
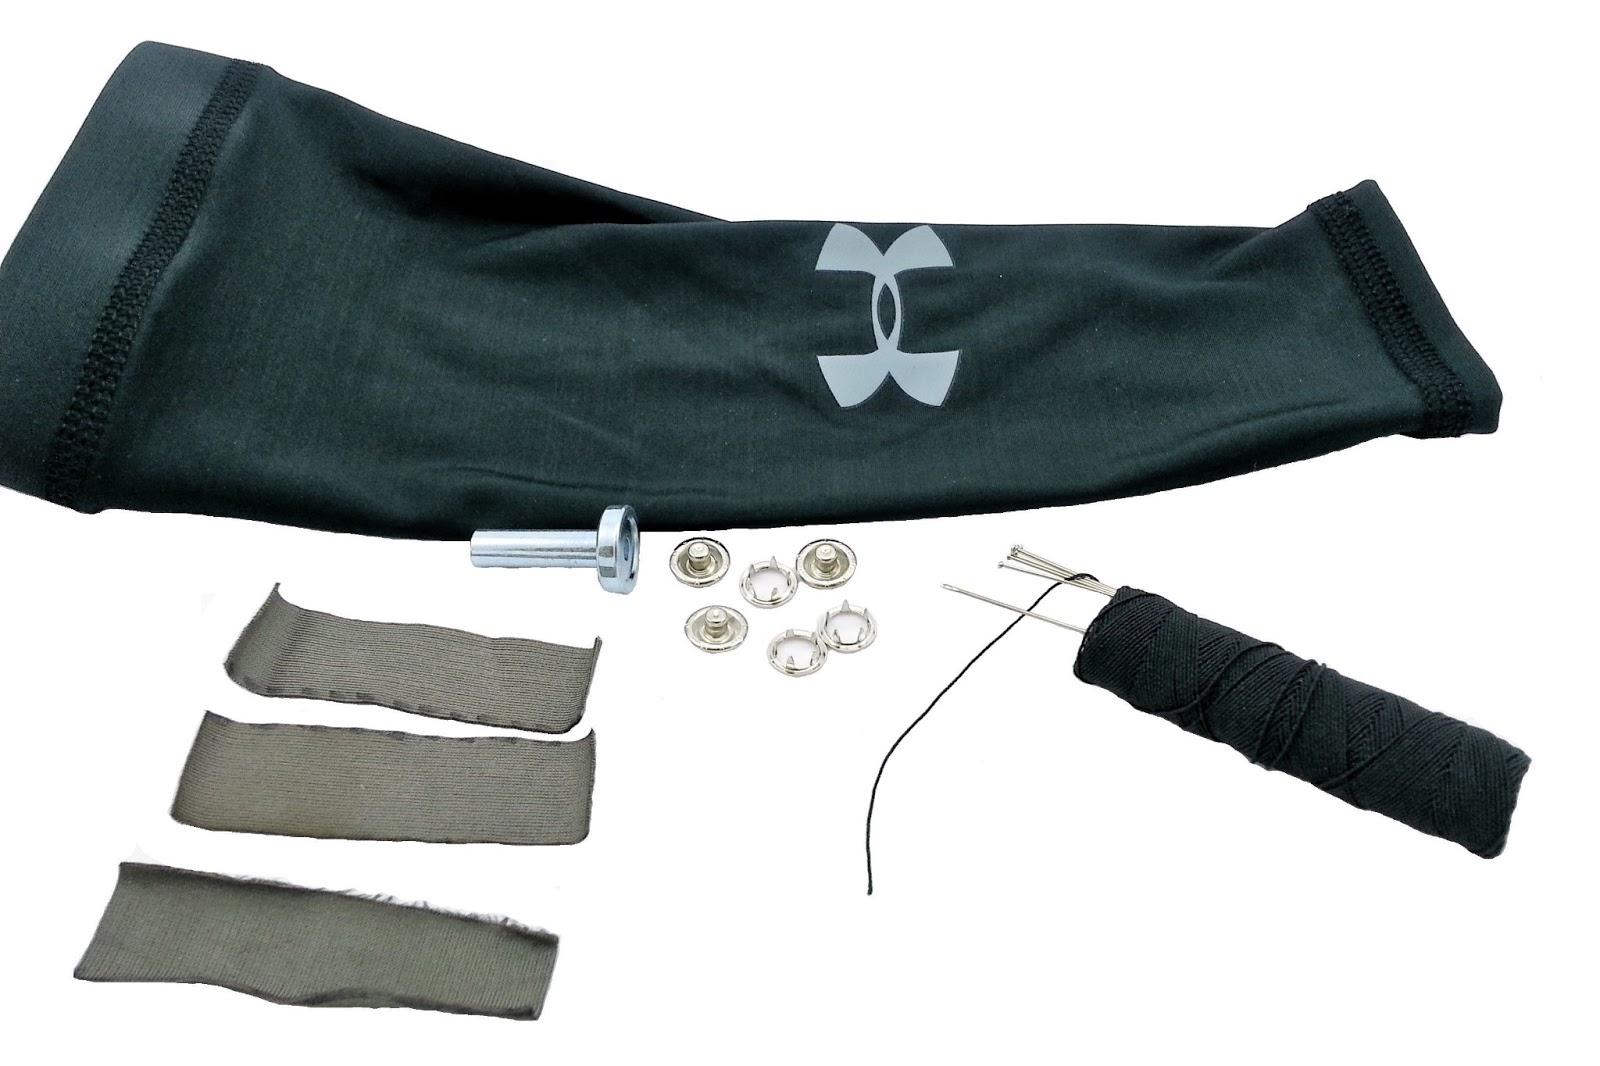
Benefits of the conductive fabric electrodes over traditional EMG electrodes:
- Reusable – traditional EMG electrodes are meant to be used only once and then thrown out. Conductive fabric electrodes can be used over and over again simply by applying some water before use.
- No adhesive – traditional EMG electrodes use adhesives to stick to your skin. This adhesive can be somewhat of a pain to remove after use and can cause skin irritation to some people.
Benefits of the traditional EMG electrodes over conductive fabric electrodes:
- Ready to use – you can simply buy these electrodes off the shelf and use them right away.
- Can be placed on any muscle – conductive fabric electrodes are sewn into garments making so they can only be used by the intended muscle group the garment is matched with. Traditional electrodes can be simply placed on any muscle group you might want to use as the trigger muscle.
Step 1
Preparing the Conductive Fabric Strips
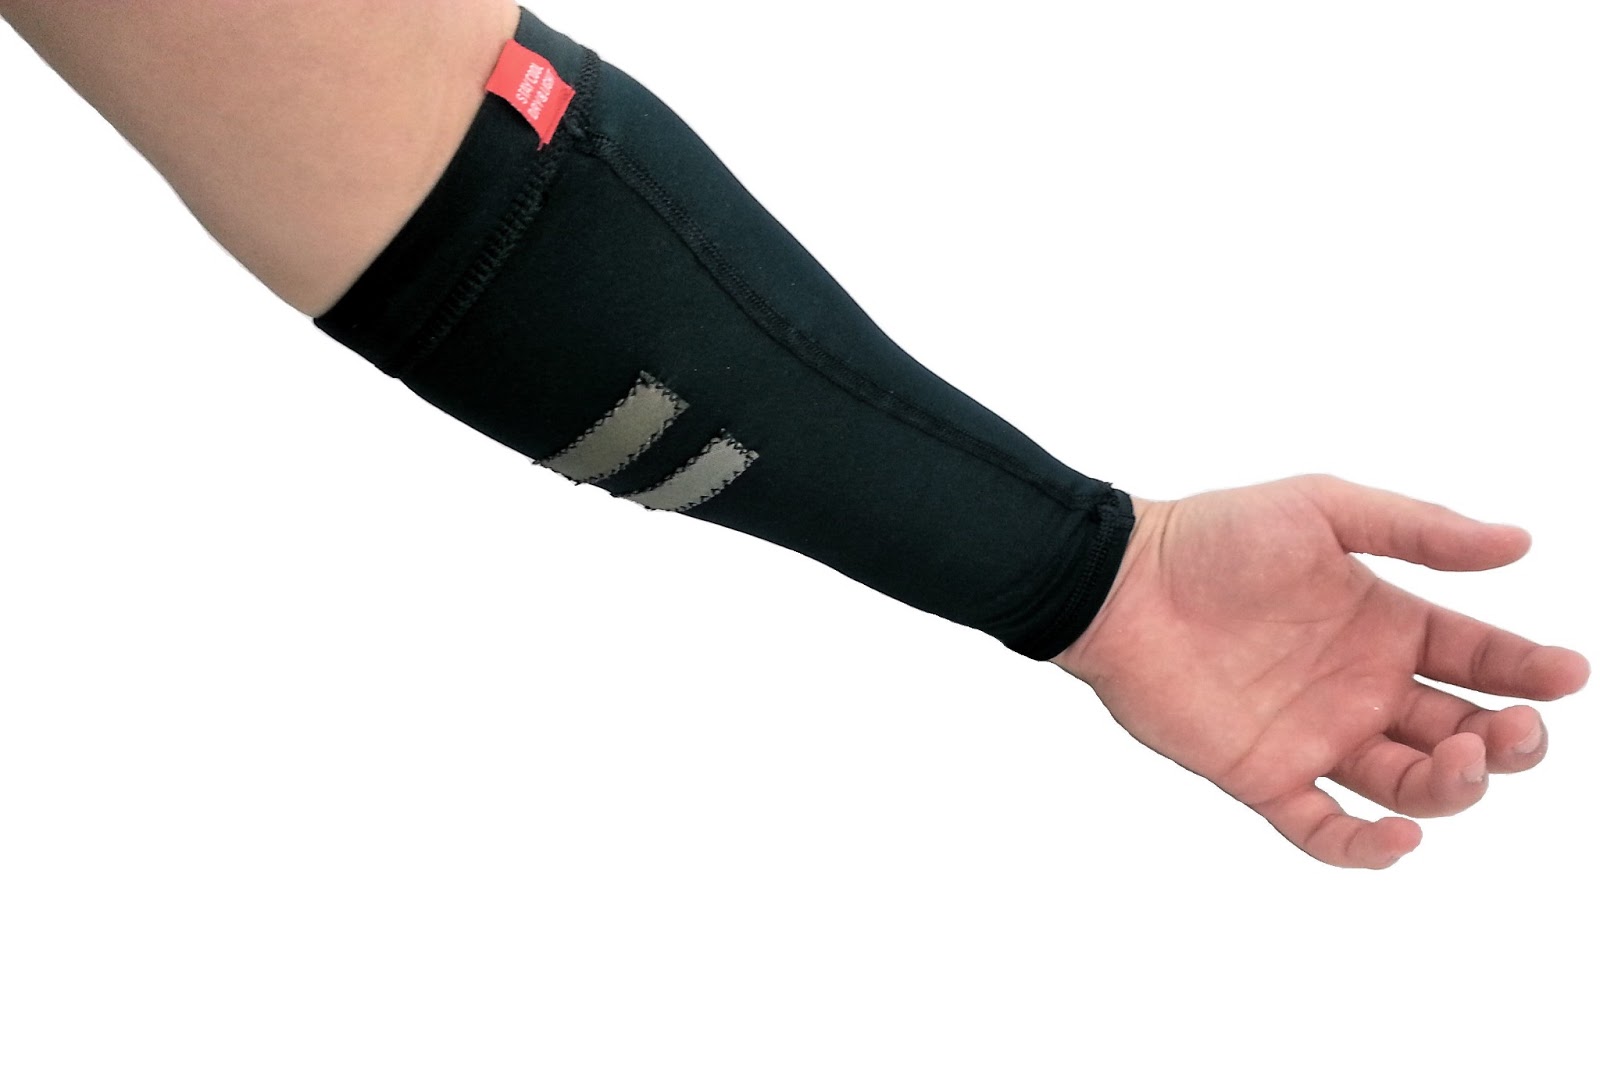
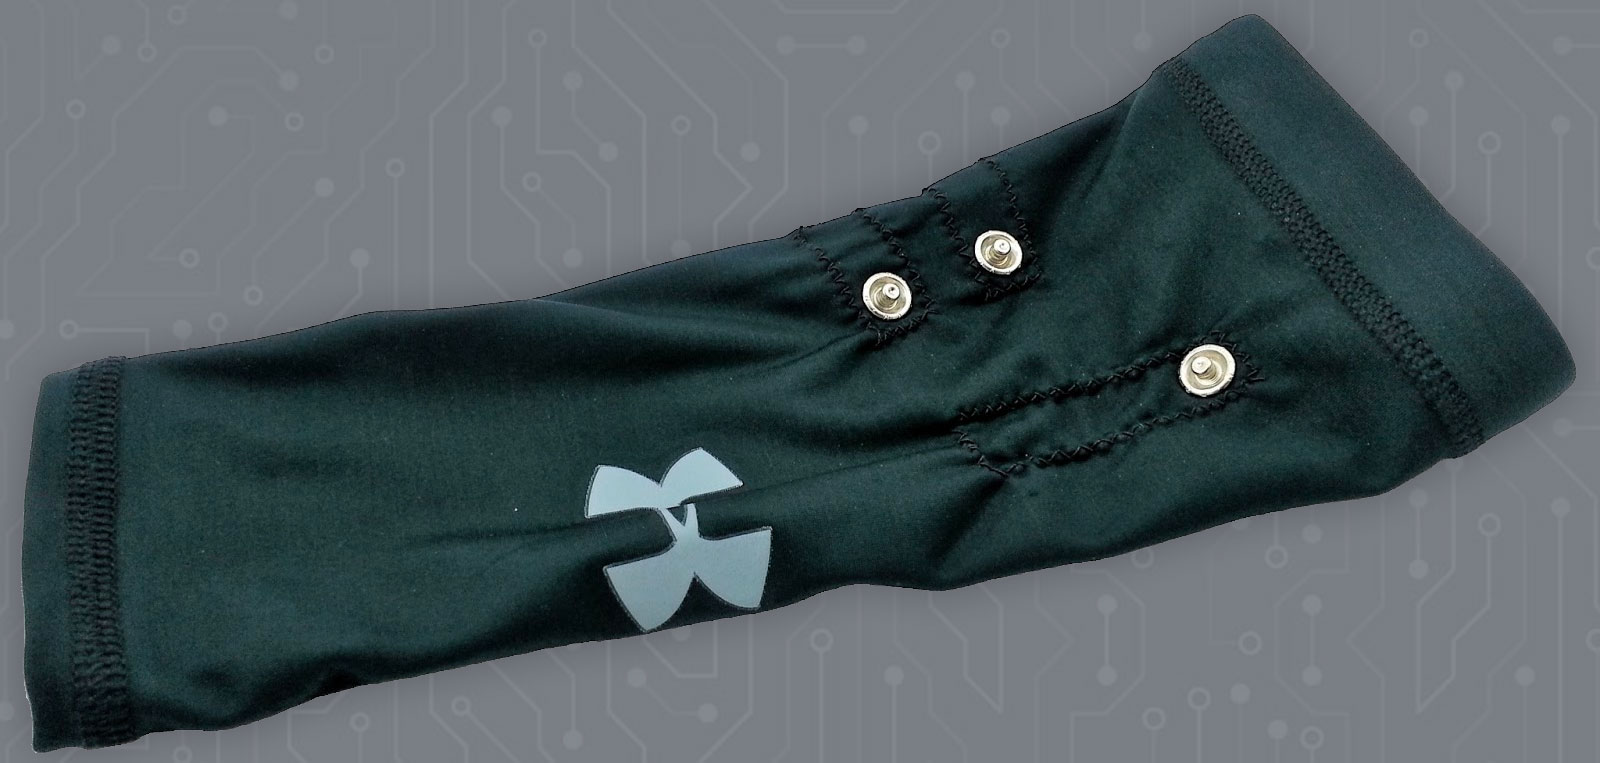
To make a conductive fabric electrode sleeve, we’ll need to make three contact points above the muscle we want to sense. In this case, we’re after the forearm muscles.
- Cut out three rectangular strips of the conductive fabric. Two of the strips should be W 5/8″ x L 1 3/4″. The third strip should be W 5/8″ x L 2″.
- Take the forearm sleeve, turn it inside out, and put it on the opposite arm that it is intended to go on.
- Using fabric pins, pin the two shorter strips on your forearm muscle such that one is in the middle of the muscle body and the other is about an inch apart. Pin the third strip along the back side of your forearm (on the bony part). Check out the pictures to see how to orient the strips.
- Carefully take the sleeve off and you’re ready to start sowing.
Step 2
Sewing the Conductive Strips
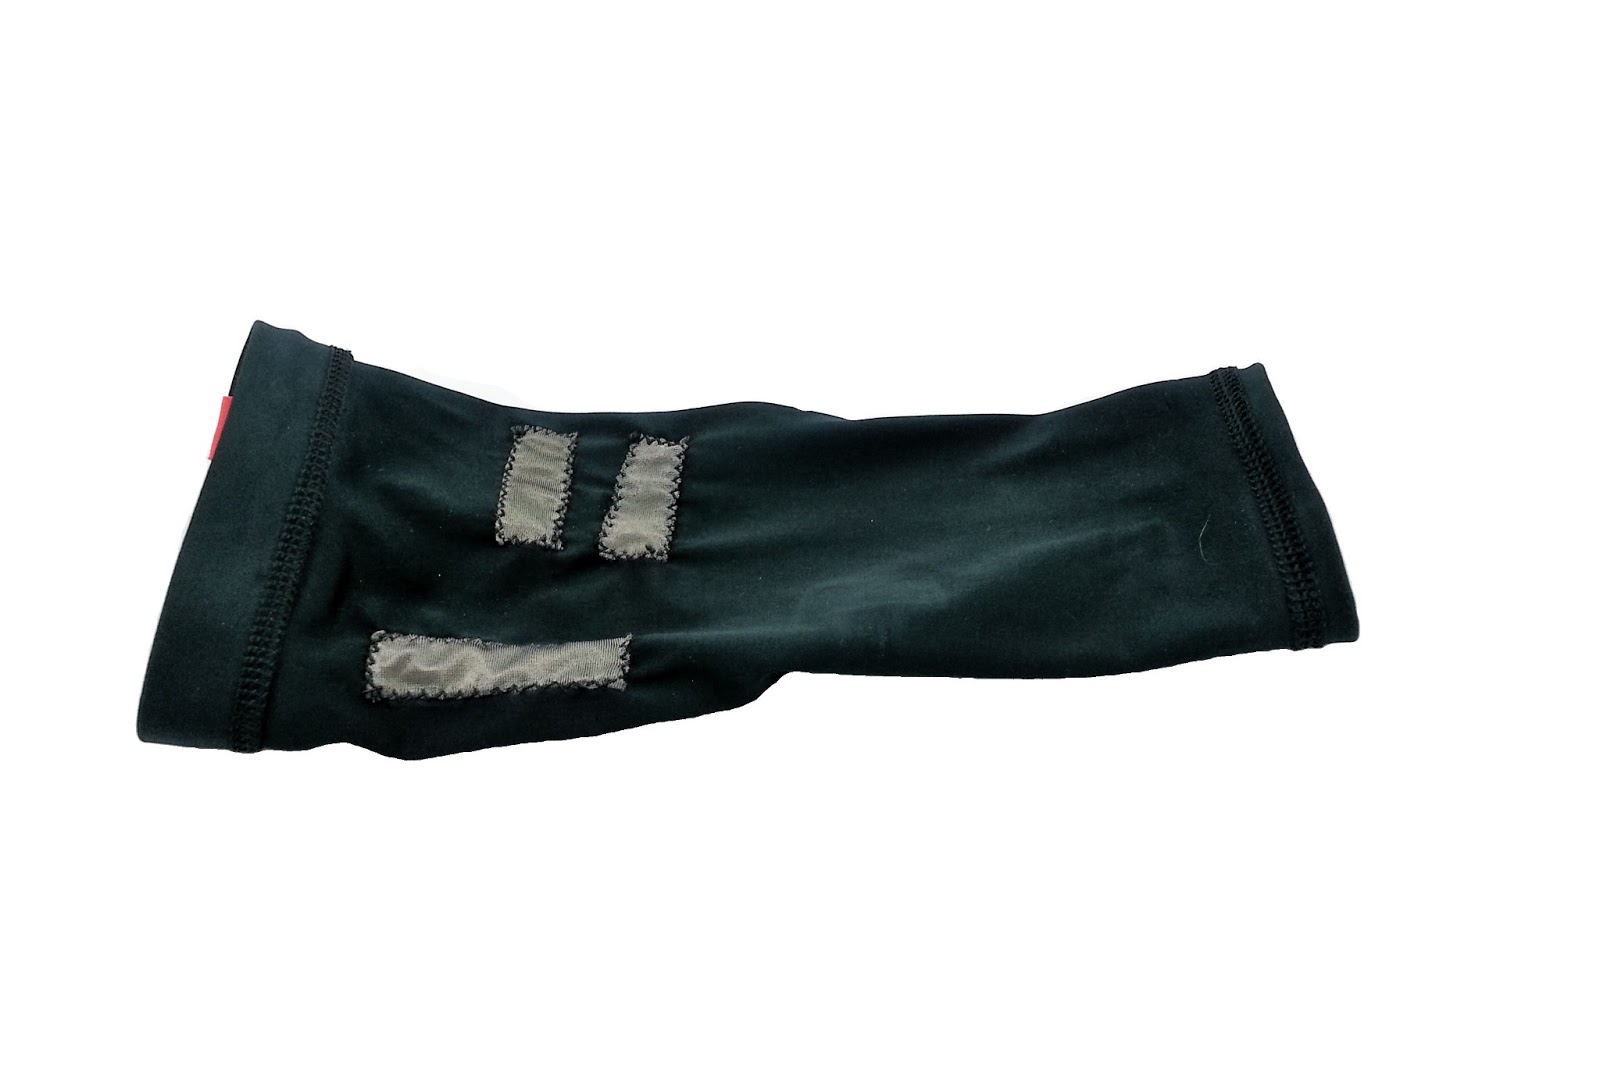
Since the sleeve is very stretchy, we’ll need to use a stitch that will give us the kind of flexibility we need and also keep the conductive fabric in place.
Luckily, we’ve got the zigzag stitch. The zigzag stitch is basically an overcast stitch in both directions. Use a zigzag stitch to sew each of the conductive fabric strips to the sleeve.
Note: Since you’ll be wetting these strips before each use, you can also use a waterproof backing (like neoprene fabric or thin rubber) to help keep the moisture in one place. If you use backing, use the zigzag stitch to first attach the conductive fabric strips to the backing material strips, then use the zigzag stitch to sew the backing to the sleeve.
Step 3
Adding the Electrode Cable Snaps
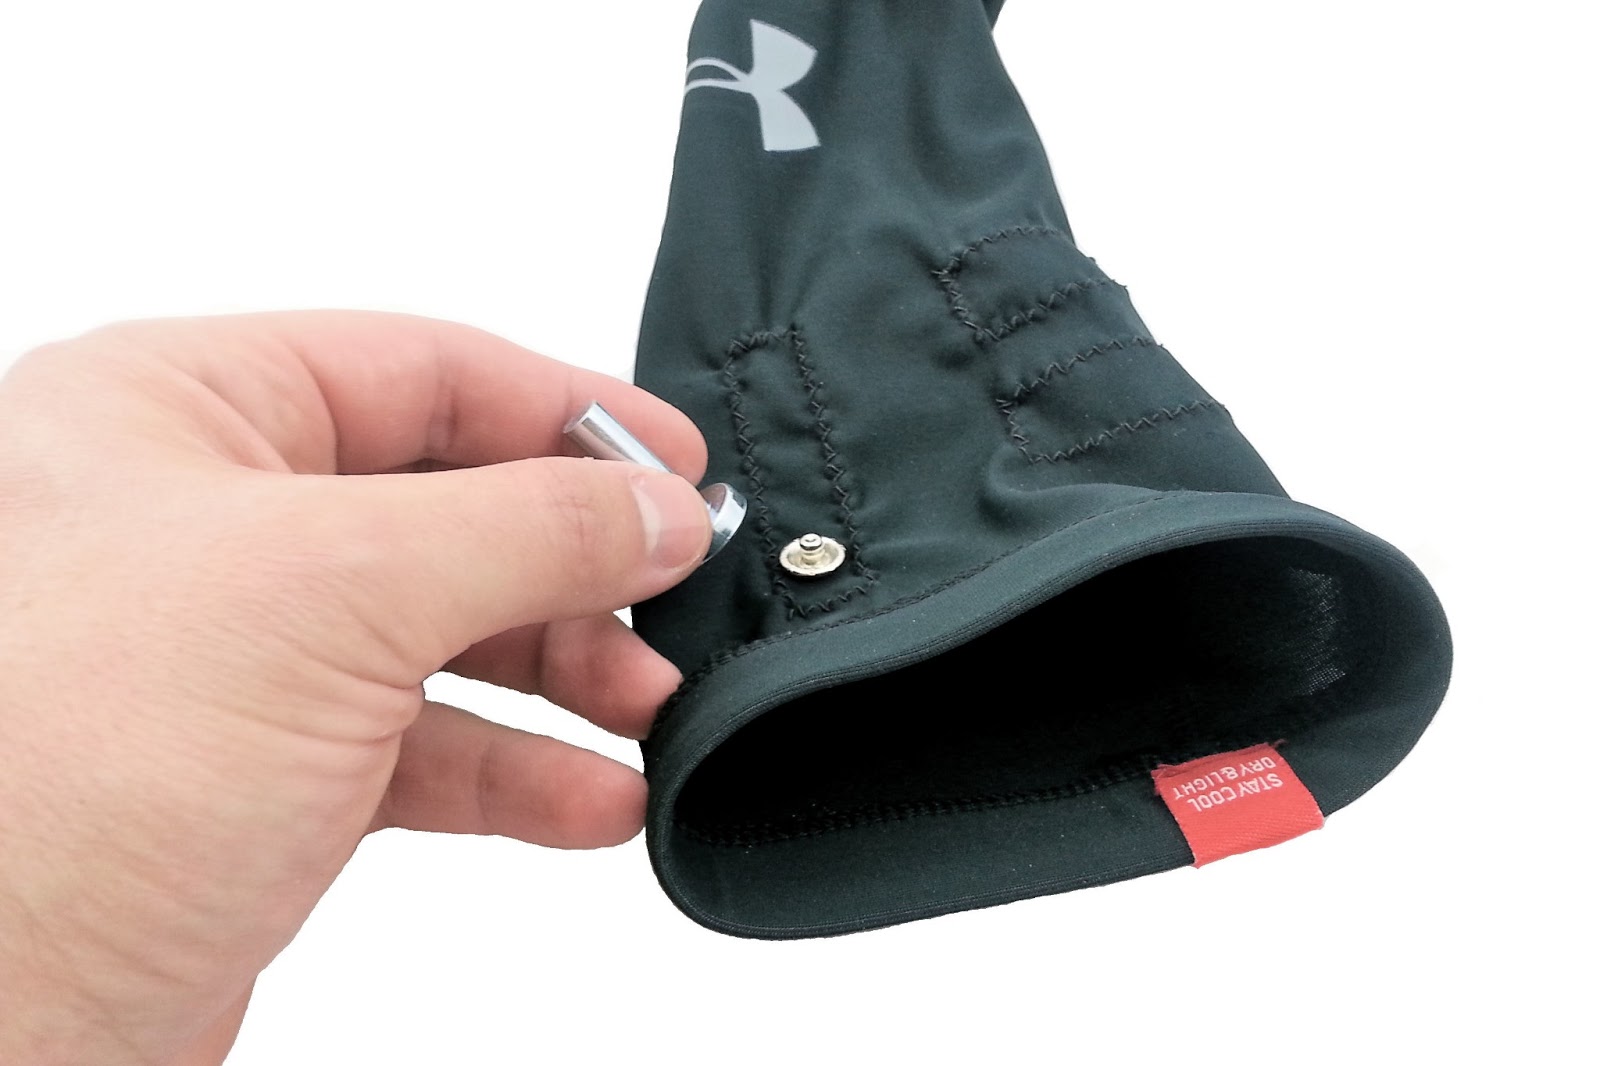
By this point, we have the conductive fabric strips securely sewn into the sleeve, but we still need a way to attach the electrode cables to the sleeve.
- Using the button snap kit, attach a male snap to each of the conductive fabric strips. Make sure the male side is on the outer side of the sleeve as shown in the picture. The snaps can be placed anywhere along the strips but should be placed where the three cable lead ends can easily reach it.
- After the snaps have been attached, use a multimeter to test the connection between each snap and its conductive fabric strip. To do this, simply place on probe against the conductive fabric strip and the other probe on the snap.
Step 4
Connect Electrode Cable & MYOWARE 2.0 Cable Shield
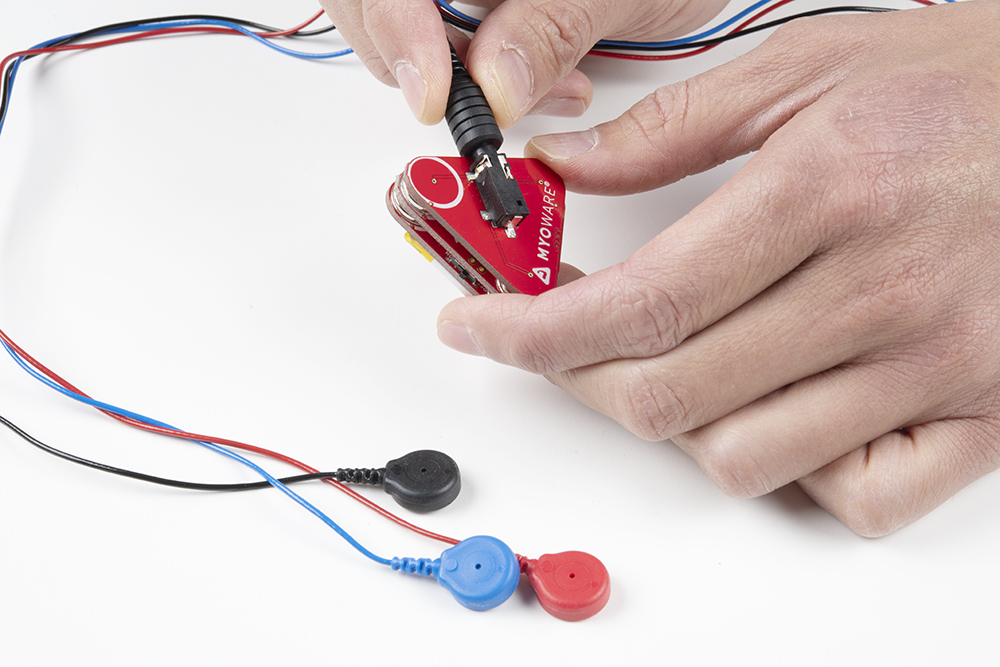
Next, we’ll connect the electrode cable to your new conductive fabric electrodes and then attach it to the MYOWARE 2.0 Muscle Sensor using the MYOWARE 2.0 Cable Shield.
- Attach the the electrode to your conductive fabric electrodes
- The red electrode cable snap attached to the conductive electrode in the middle of the muscle body
- The blue electrode cable snap attaches to the conductive electrode at the end of the muscle body
- The black electrode cable snap attaches to the reference conductive electrode
- Plug the electrode cable into the 3.5mm TRS port on the MYOWARE 2.0 Cable Shield
- Finally, snap the MYOWARE 2.0 Cable Shield directly to the electrode snaps on the bottom of the MYOWARE 2.0 Muscle Sensor
Check out SparkFun’s MYOWARE 2.0 Cable Shield Hookup Guide for more information
Step 5
Connect the MYOWARE 2.0 Link Shield
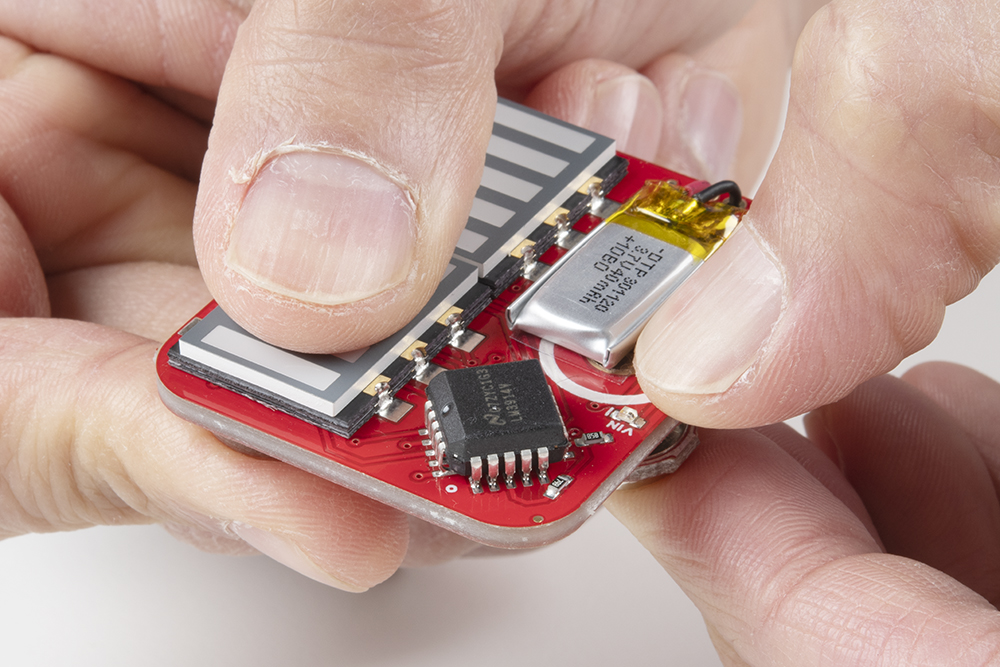
Now to the fun part! We’re going to use the MYOWARE 2.0 LED Shield as a quick and easy way to test out the conductive electrodes.
- Slide on the conductive electrode sleeve and make sure the conductive strips are positioned as desired
- Snap the MYOWARE 2.0 LED Shield to the top of the MYOWARE 2.0 Muscle Sensor + MYOWARE 2.0 Cable Shield assembly
- Slide the MYOWARE 2.0 LED Shield’s power switch to the on position
- Flex the targeted muscle and watch the LEDs light up!
